Pallet Love: How to Make a Rustic Quote Pallet Sign
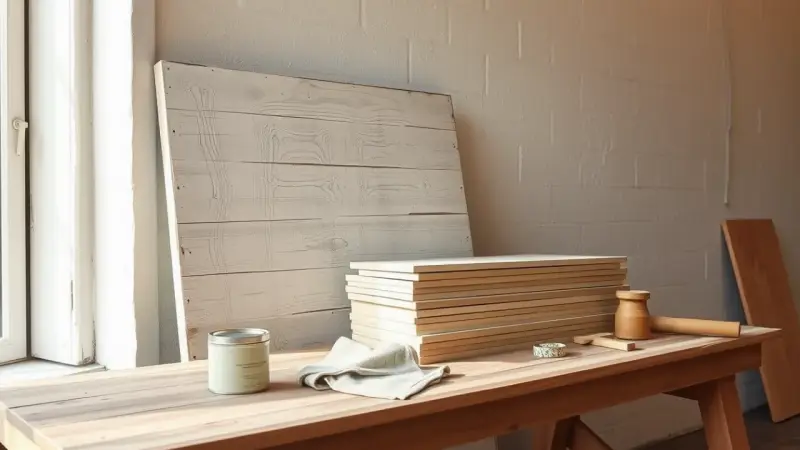
A pallet-style sign has a soft, weathered white finish over a hint of gray. It is built from plain boards, and a favorite quote sits across the front in vinyl or hand-painted letters. It looks like a vintage find, but you build it yourself from a stack of lumber.
It makes a lovely wedding or Christmas gift because the wording and colors can match the couple and their bedroom or entryway. Plan on about two days, since each layer of paint and sealer needs time to dry.
Where it fits
A quote sign suits a bedroom wall, a mantel, a hallway or an entry table. It also works well as a gift for newlyweds. Choose a line that says something about the two people, then pick paint colors that echo their room.
Keep the wording short so the letters can be large and easy to read from across the room. Pallet art is also a good seasonal project, since you can change the quote and colors for Easter, fall or patriotic holidays.
Supplies and steps
- Several boards of the same length (new lumber or reclaimed wood)
- Extra boards for the back braces
- Nails and a hammer
- Gray acrylic craft paint
- White satin acrylic paint plus a tintable antiquing glaze
- Vinyl lettering and a cutting machine, or paint and stencils
- Matte decoupage sealer
- Satin acrylic sealer
- Foam or bristle brushes
- Build the base. Lay the boards side by side, face down. Nail a brace across the back near each end so the boards act as one panel. Bracing both sides keeps the sign from pulling apart later.
- Add a gray undercoat. Brush on a thin layer of gray acrylic. Let some wood grain show through. The gray gives the finish its aged depth.
- Mix the antique white. Stir the white satin paint into the antiquing glaze to make a generous batch. Cover the boards liberally and let them dry completely.
- Add the quote. Apply vinyl letters, or paint the words by hand. Press vinyl down firmly, especially over the wood grain and the gaps between boards.
- Seal the surface. Brush a thick coat of matte decoupage sealer over the whole front. This locks down the lettering and the paint.
- Finish. Apply two generous coats of satin acrylic sealer, letting each one dry before the next.
Mistakes to avoid
- Skipping the back braces. Without them, the boards can shift or separate. Brace both sides.
- Rushing the drying. Painting over a damp layer can smear the finish or cloud it. This is why a simple project takes two days.
- Making the quote too long. Long sentences force small letters. Trim the wording until it fits comfortably.
- Applying thin sealer. The decoupage coat should be thick and even so the surface is protected and the lettering stays down.
- Starting too late. If it is a holiday gift, begin well before the season. Building, painting, lettering and sealing add up quickly in December.
Test your paint mix on a scrap board first. Add more white for a cleaner look, or less for a more weathered one. Once the sealer has cured, add a sawtooth hanger or wire to the back so the sign is ready to hang.