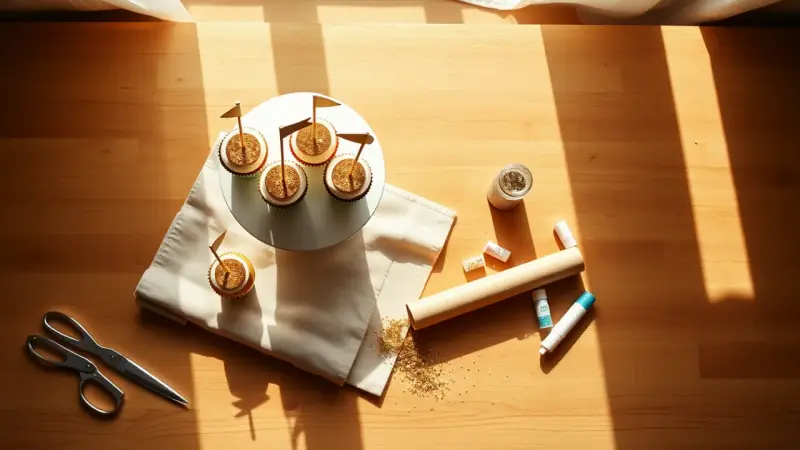
All That Glitters: A Golden Birthday Party with Glittery Toppers, Banner and Letter
Picture a table of cupcakes topped with shiny gold circles and tiny banners, a string of gold polka dot pennants overhead, and one big glittered letter standing guard. That is the look of a golden birthday, the one when a child turns the same number as the day of the month she was born. Everything below is paper, glue and glitter, so it is easy to spread over a week.
The three projects are round cupcake toppers, flourish banner toppers, and a pennant banner plus a glittered letter. Here is how to schedule them.
A week before: gather supplies and make the toppers
One set of supplies covers all three projects:
- 1 sheet gold glitter cardstock
- 1 sheet gold polka dot vellum
- 1 sheet white cardstock
- Gold glitter tape
- Letter stickers (the chunky chipboard kind) for initials and numbers
- Gold glitter glue
- A 2.25-inch round punch, a 2-inch scallop punch and an extra large flourish punch
- Double-sided tape and foam adhesive tabs
- Scissors, a craft knife and tacky glue
- Candy sticks, a cardboard letter and embroidery floss
Round toppers
- Punch circles from the gold glitter cardstock.
- Punch scallop circles from the white cardstock.
- Stick each gold circle onto a scallop with double-sided tape, so the white shows as a frilly edge.
- Press a sticker initial or the birthday number onto each circle.
Flourish banner toppers
- Punch the flourish shape from gold glitter cardstock.
- Type a short phrase in any fun font and print it on plain paper.
- Cut the words into a snug rectangle. Tape a smaller rectangle to each side, then snip a small triangle from each end to make a tiny banner.
- Put a foam tab on the back and press it onto the flourish so the words sit raised.
- Dot on gold glitter glue for extra sparkle and let it dry completely before moving the toppers.
To attach either style to a cupcake, run a thin line of tacky glue down the back, press a candy stick on, and check that it is straight against the design. Leave it to dry fully. Candy sticks make a sweet, edible alternative to wooden picks, though the toppers are best kept away from very small children.
The day before: banner and letter
Pennant banner
Cut a 2-inch wide strip of gold polka dot vellum, then cut it into 1.5-inch lengths. Snip a small triangle from the bottom of each piece to form a pennant point. Punch a hole near the top of each, then thread them onto embroidery floss. Ribbon or twine works just as well if you prefer a different look. Vellum is translucent, so hang it where light can come through.
Glittered letter
This is the quickest piece. Stick a cardboard letter to the back of a sheet of gold glitter cardstock with double-sided tape, then trim around the edge with a craft knife. An adult should handle the knife. If the glitter paper tears or the edge looks rough, dab on gold glitter glue and it will hide the flaw once dry. Use the child’s initial, or the number she is turning.
On the day: set it up
- Frost the cupcakes just before the party, then add the toppers so the candy sticks stay clean.
- Hang the pennant banner across a wall or the front of the dessert table, taping the ends securely.
- Stand the glittered letter at the back of the table, or lean it against a wall as a focal point.
- Add gold glitter tape to plain cups, napkin bands or the edges of signs to carry the color around the room.
Mistakes to avoid
- Moving the toppers before the glitter glue is dry, which smears it.
- Skipping the foam tabs, which give the banner words their raised look.
- Cutting the vellum pennants unevenly. Mark one pennant as a template and trace it.
- Gluing the candy stick crooked. Check the front of the topper before the glue sets.
Keep the palette simple, with gold, white and a little polka dot, and the party feels coordinated without much effort.