Printable Fill-In Backpack Tags to Make Your Own
A small card in a bright pattern, tied to the zipper pull with ribbon, can settle the question of whose backpack is whose. These fill-in tags have blank lines for a name and contact details, and they take only a few minutes to put together.
Identical backpacks are common in classrooms. Names written inside the bag help, but a busy teacher at dismissal rarely stops to look inside. A tag on the outside of the bag is visible at a glance.
The design
Keep the layout simple so it is easy to read from a distance. A landscape rectangle works well, and the finished layered tag is about 4 inches wide and 2 inches tall.
- Heading: a short label across the top, such as “This backpack belongs to,” in a playful but readable font.
- Fill-in lines: one line for the child’s name, one for a parent’s phone number, and optionally one for the classroom or teacher.
- Colors and patterns: choose different looks for different kids. Navy, green and red stripes or dots suit one style, and pink, aqua and yellow florals or chevrons suit another.
- Border: a solid frame around the edge makes cutting easier and gives the tag a finished look.
Build the page in any design app or word processor. Set the text boxes, add a patterned background, and fit several tags on one letter-size sheet to save paper.
How to make the tags
You will need:
- your printed tag design
- coordinating card stock
- adhesive, such as a glue stick or double-sided tape
- a hole punch
- ribbon
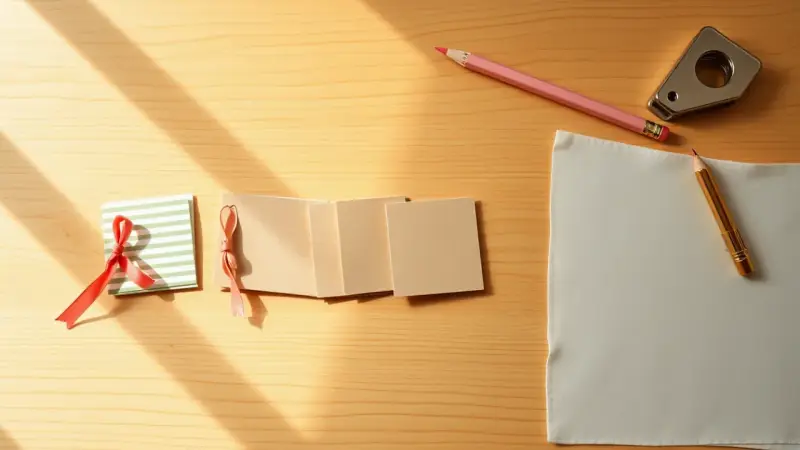
- Print the design on white paper or light card stock, then cut out each tag along its border.
- Trim a piece of coordinating card stock so it is slightly larger than the tag. A size of 4-1/8 by 2-1/8 inches leaves a narrow, even frame.
- Glue the printed tag onto the card stock, smoothing it from the center outward so it lies flat.
- Write the details in permanent marker or a fine-tip pen. Do this before laminating, because ink will not stay on laminate afterward.
- For a longer-lasting tag, have it laminated at a copy center, leaving a small clear edge around the paper so the seal holds.
- Punch a hole in one corner or the center of the short edge through all the layers.
- Thread a length of ribbon through the hole and tie it securely to the zipper pull or a strap loop.
Ways to use them
Laminating helps the tags survive rain, spills and daily tugging. Choose a ribbon in a color that stands out against the bag, since a bright bow also makes the bag easy to spot in a crowded cubby area.
If you would rather not show your phone number to everyone, write the contact details on the back of the tag, or fold the tag and tuck it into the bag’s front pocket while your child walks to school. Pull it back out at the classroom door. The name side can still face outward.
The same tags work for other bags too:
- lunch boxes and snack bags
- gym and swim bags
- dance or sports duffels
- overnight bags for sleepovers
Siblings can get matching designs in different colors, so each bag is still easy to sort out in the back seat or by the front door. Make an extra tag or two at the same time, because ribbons wear out and a replacement is easy to swap in.
Check the knot now and then. A double knot holds better than a bow on a bag that gets tossed around, and a short piece of ribbon is less likely to snag on a zipper or a coat.