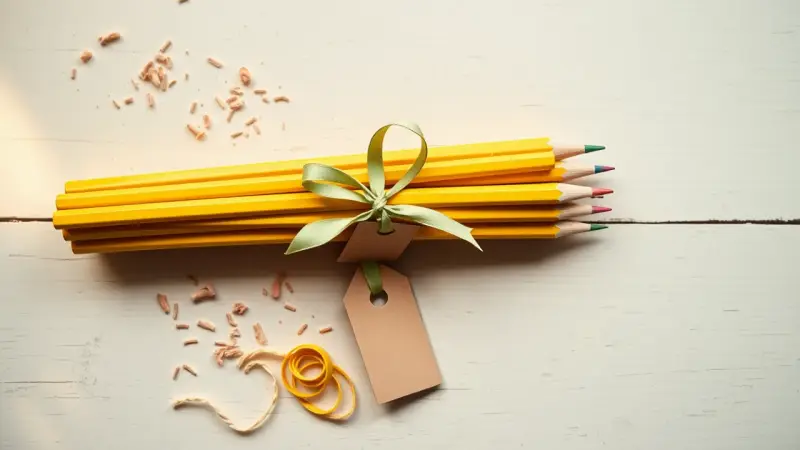
Write Start Teacher Gift Tags for a Pencil Bouquet
A fistful of freshly sharpened pencils, gathered like flowers and tied with a ribbon, makes a cheerful first-week gift for a teacher. The finishing touch is a small tag with a pun on the school year: “Wishing you a WRITE start!”
Pencils are a smart choice because classrooms go through them quickly. The same idea works with pens, markers or highlighters if your teacher prefers those.
When this gift fits
This is a back-to-school gift. It suits the first days or weeks of the school year, a welcome-back note, or a small thank-you for a teacher you are meeting for the first time. It is inexpensive enough to make for a whole team of teachers, aides and specialists, and it is easy to build in an evening.
Designing the tags
Make two styles so you can vary the gifts, or choose one for everyone.
- Option one, the simple pun: a large “Have a WRITE start!” line with a short “Thank you for all you do” underneath. Set the word WRITE in a bolder or brighter color so the pun stands out.
- Option two, the pencil border: the same message inside a frame of tiny pencils or sharp pencil tips, with a line at the bottom for the child’s name.
Choose two or three colors, such as navy, yellow and red, which feel like school and look good against yellow pencils. Keep the lettering large and the background plain so the words are easy to read from a few feet away.
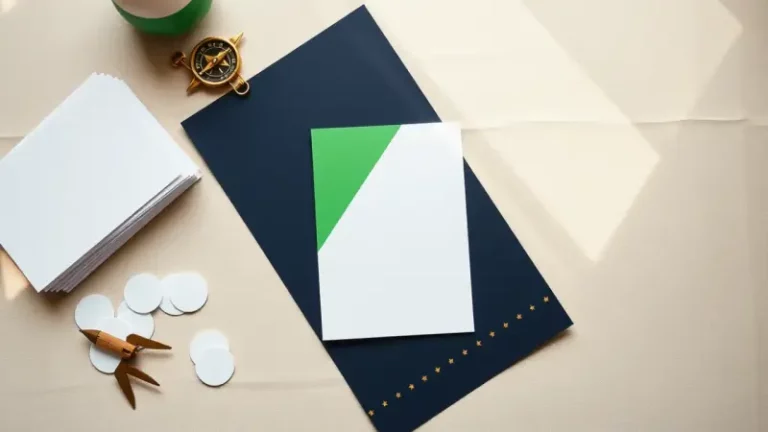
A tag about 2 by 3.5 inches is easy to hold, and it fits several to a sheet of letter-size paper. If you want a tag that folds over a bundle, make it 3 by 5 inches and add a fold line down the middle.
Making and printing them
You can draw the tags by hand or build them in any design app or word processor with a text box and a few fonts. Whichever you choose, use the same layout for the whole sheet so the tags come out uniform.
- Set the page to letter size and draw a grid of tag-sized boxes with a little space between them.
- Type the message in each box, then add the border and a spot for a signature.
- Print on white cardstock for a sturdy tag. Plain paper works if you glue it to a backing.
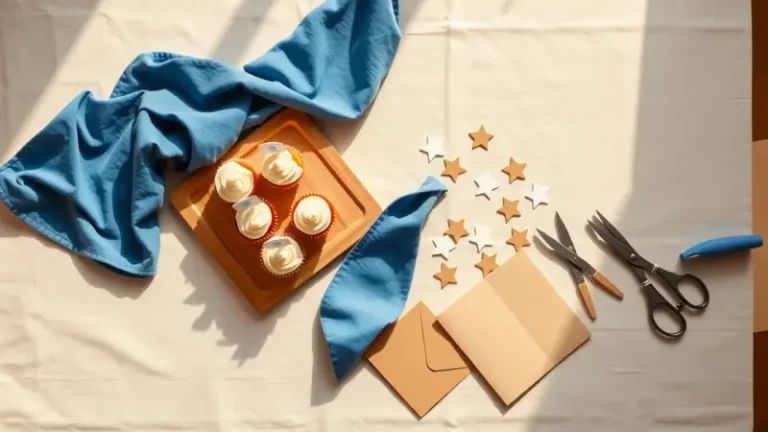
- Cut along the grid lines with scissors or a paper trimmer. A hole punch at one corner or the top center makes a place for the ribbon.
- Round the corners with a corner punch if you want a softer shape.
Putting the bouquet together
- Choose 8 to 12 pencils. Use new ones in matching or coordinating colors.
- Hold them in a bundle with the points at different heights, or all level for a neat look.
- Wrap a rubber band around the middle to hold them, then cover it with ribbon, twine or washi tape.
- Thread a short length of ribbon through the tag and knot it around the bundle, or tuck the tag between the pencils.
For something extra, slip a sticky-note pad or a small eraser under the ribbon. Another option is to stand the bouquet in a small jar or mug so the teacher can use it as a desk organizer.
Mistakes to avoid
- Do not cut the tags before you test one on a bundle. A tag that is too wide will droop and hide the pencils.
- Skip very thin paper, which curls once it has a hole in it.
- Do not tie the ribbon too tight, or the pencils will bunch and the tag will be hard to read.
- Check that the ink is dry before you stack the tags, especially on glossy cardstock.
Make a few extra tags in case one gets cut crooked. They are also handy for a substitute teacher or a late-year new hire.