DIY Halloween Decor: A Painted Ghost Sign with Polka Dot Vinyl
This Halloween sign is a crisp white board with a band of black and white polka dots across the lower part. A ghost shape rises out of a black painted background above the dots. It is a small, graphic piece that looks as good on a mantel as it does propped on a shelf.
The board is a 12×24 inch sheet of plywood. The ghost is not painted directly. You paint the black around a pencil outline, and the white ghost shows through. Anyone can make it, but you need to allow time for the paint to dry.
Where it fits
The sign is sized for a mantel, entry table, bookshelf or windowsill. The black and white palette suits modern or farmhouse rooms, and it stays neutral enough to go with orange pumpkins or dried leaves.
It also makes a good project to do with older kids, with an adult handling the cutting. You could cut other vinyl shapes in the same polka dot pattern, such as pumpkins, sweets or spooky words, to put along the band.
What you need
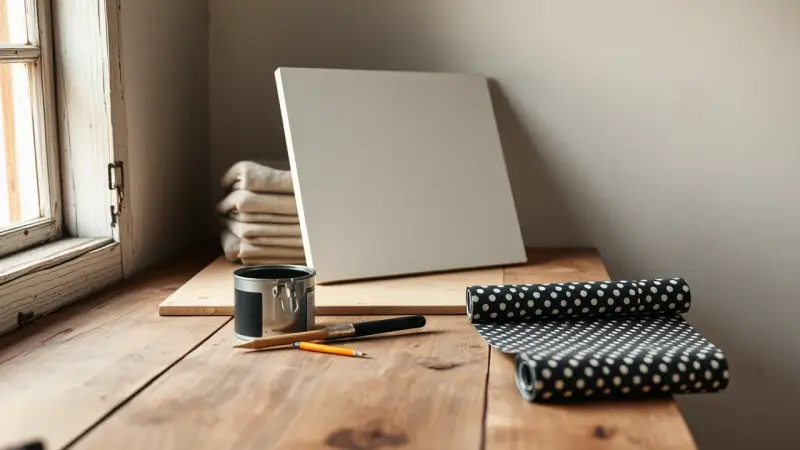
- One 12×24 inch plywood sheet
- White acrylic paint
- Black acrylic paint
- A paintbrush
- A black and white polka dot patterned vinyl sheet
- Transfer paper
- A cutting machine such as a Cricut Explore, or a craft knife
- A pencil
How to make it
- Paint the whole front of the plywood white. Add coats until the color is solid and opaque. Two coats were enough here, but check yours as you go, since wood and paint vary.
- While the white dries, cut your vinyl design. A cutting machine gives the cleanest edges. A craft knife works too if you go slowly and use a fresh blade. Have an adult handle the knife for any young crafters.
- Wait until the white paint is completely dry. Then use transfer paper to lift the cut vinyl and press it onto the board, a little more than halfway down. Rub it firmly, then peel the transfer paper away.
- Lightly sketch a ghost with a pencil above the vinyl. Give it a rounded head, a gently wavy hem and a simple shape without fine detail.
- Paint black from the pencil line out to the edges of the board. Work carefully along the outline, then fill in the rest. The unpainted white inside the line becomes the ghost.
- Leave the sign flat until everything is completely dry, then stand it up to display.
Mistakes to avoid
- Thin white paint. If the wood grain or color shows through, the ghost looks gray. Keep adding coats until the white is solid.
- Applying vinyl too early. Damp paint can lift or pull away when you peel the transfer paper. Make sure the white is fully dry first.
- Heavy pencil lines. Press lightly so the marks are easy to cover. Pencil that is too dark can show through the black.
- Rushing the black. Take your time near the ghost’s edge. A steady hand and a small brush along the outline make the shape look sharp.
- Displaying it too soon. Paint that is dry to the touch can still stick to a shelf or mantel. Give it extra time before setting it up.
For a variation, try a ghost with a tilted head, or paint two small ghosts of different sizes. You can also add a bat or moon in the same black paint.