Craft Room Tour: Layout and Storage Ideas for a Bright, Organized Creative Space
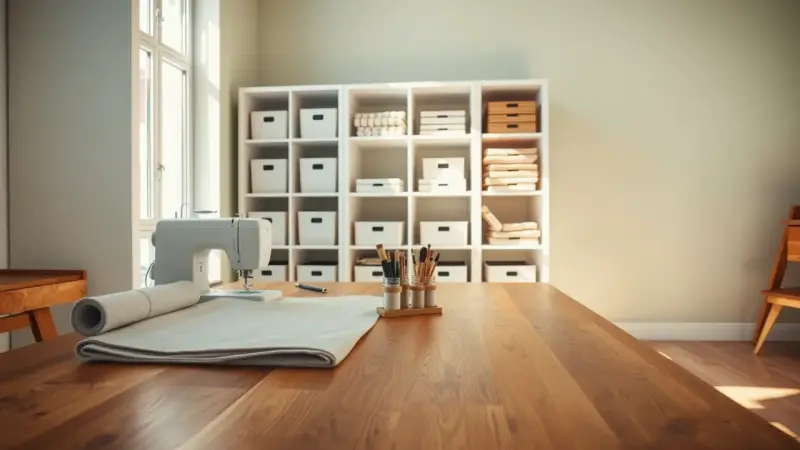
Picture a craft room with a cheerful painted wall, white cube shelves lined with labeled boxes, a desk with a sewing machine that slides out of the way, and jars and cake plates lined up along the top of the shelving. Every zone has a job, and the whole room is easy on the eyes. Here is how a space like that comes together, section by section.
This tour follows a room that started as a second primary bedroom, which explains the generous closets and the attached bathroom. You do not need a spare suite to borrow the ideas, though. A corner of a dining room or a basement will work with the same approach.
Why a zoned craft room works
When every supply has a home, you spend your time making things instead of hunting for scissors. Splitting the room into zones is the simplest way to get there: a work zone, a bulk storage zone, a display zone and a place to sit and think.
The desk zone
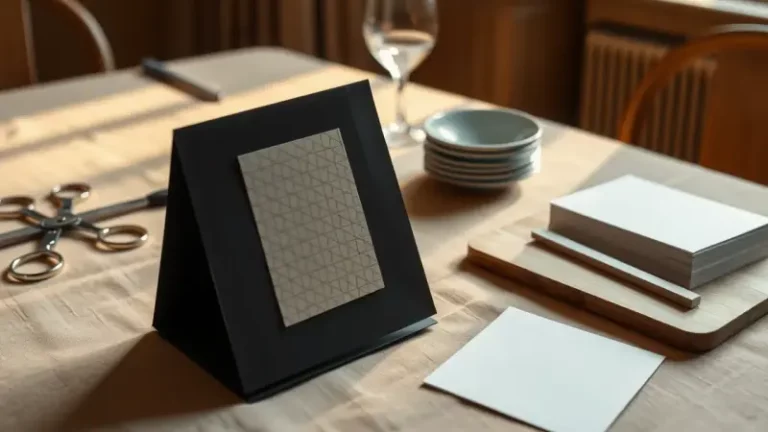
Keep daily tools within arm’s reach: a planner, an idea notebook, a few pairs of scissors and a cup of pens and pencils. A sewing machine on a pull-out shelf stays hidden when you are cutting paper, then slides forward when you need it. Leave the desk surface clear of everything else.
The shelving zone
Cube shelving is a flexible backbone for a craft room. Fill most cubes with matching white boxes and label each one by type, such as ribbon, stamps, felt or stickers. Matching boxes calm the visual noise of a thousand small supplies. In the cubes without boxes, display albums or scrapbooking kits so they are easy to grab.
The top of the shelves is useful space too. Glass jars and white serving pieces fit nicely there, and so do pictures waiting for a spot on the wall. Up high, they stay out of reach of little hands.
The reading and thinking nook
A comfortable chair by a window gives you somewhere to sketch out project ideas. If the upholstery does not suit your room, a simple slipcover changes the look without a replacement. Pair it with a small side table, refinished in a coordinating color, and add a few meaningful keepsakes such as an old book or a favorite children’s book.
How to organize the closets
Closets hold the bulk of the supplies, so they deserve a system even if the storage itself is a mix of mismatched parts.
- Sort by shelf. Give each shelf one category, such as paints, cutting machine supplies, photo props or office items.
- Group like with like. Put flat items together and bottles together so nothing gets buried.
- Dedicate drawers. A plastic drawer set can hold one drawer for functional adhesives and another for decorative washi tape and small embellishments. The insides do not need to be perfect as long as you know what belongs in each drawer.
- Store paint so you can see it. Keep acrylic paint bottles in a simple cardboard box. Bottles with a colored dot on the cap can stand upright, and the rest can rest upside down so the color is visible and easy to find.
A closet of mismatched plastic drawers is not glamorous, and a custom closet system would look better. Still, a labeled, category-based setup does the most important job, which is keeping everything findable.
Making the room personal
The details that make a craft room feel good are often not craft-related at all. A few ideas:
- Display notes and drawings. Keep children’s notes and artwork near your chair as a reminder of why you work.
- Add a bulletin board. A painted cork board holds kids’ drawings, photos of important people and small tokens from friends.
- Keep a book corner. A shelf of saved children’s books from a classroom library makes the room a gathering spot for the family, and well-loved, slightly jumbled books are a good sign.
- Show off past projects. A few finished pieces and favorite photos on the shelves keep the room inspiring.
- Choose a color you love. If the rest of the house is neutral, a craft room is a good place to paint a color of your own.
Common mistakes to avoid
- Buying storage before sorting. Sort your supplies first, then buy boxes that fit what you actually own.
- Skipping labels. Without labels, boxes turn into mystery bins within a month.
- Putting everything at eye level. Reserve the lowest shelves for things kids can use safely, and put glass or breakable items up high.
- Forgetting the light. A window provides lovely natural light for working, so keep the desk close to it and do not block it with tall storage.
- Chasing perfection. A room that is mostly organized and used every day beats a styled one that never gets used.
- Ignoring extra rooms. If the space has an attached bathroom or a closet you rarely use, think about how to put it to work, whether as overflow storage or a spot for guests during gatherings.
Start with one zone, finish it, and then move to the next. Within a weekend or two, the whole room can feel like a place you want to be.