Happy Birthday Printables: Party Circles, Banner, Fancy Labels and Alphabet Panels
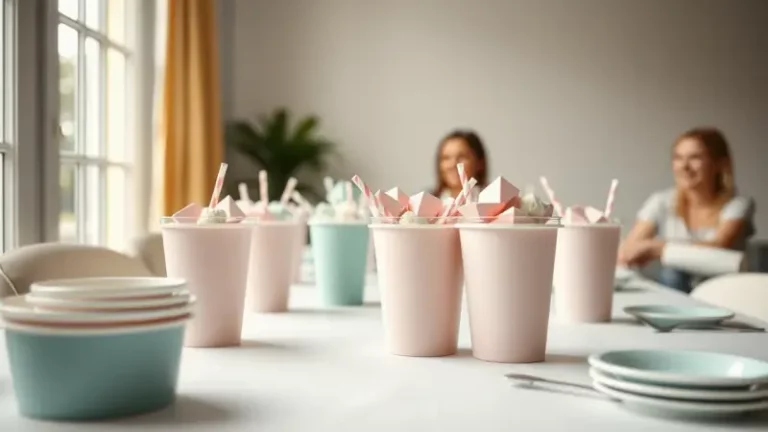
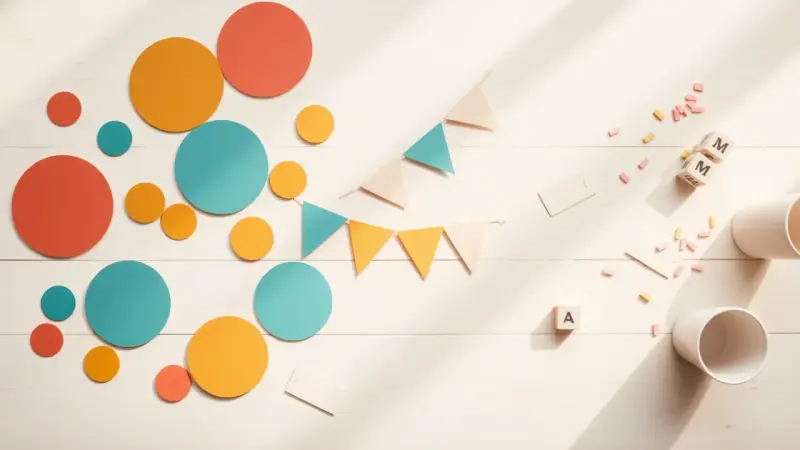
This happy birthday printable set has four matching pieces: round party circles, a pennant-style Happy Birthday banner, blank fancy labels for the food table and alphabet panels for spelling out a name or an age. The set was first made for a big company anniversary, a 140th birthday, but each piece works just as well for a child’s party or an office celebration.
Because every piece uses the same colors and pattern, the whole room matches even when you add only a few pieces.
The design
Pick two main colors and one pattern, such as stripes, polka dots or a damask, and use them on all four pieces.
- Party circles: 2-inch rounds with a patterned border and a short message in the middle, such as “Happy Birthday,” the guest of honor’s age or one big initial. A common layout is 2″ circles, 12 to a page.
- Happy Birthday banner: one letter on each pennant or square, with an extra plain pennant between the two words so the spacing reads clearly from across the room.
- Blank fancy labels: a scalloped or bracket-shaped frame with a wide empty center, so you can handwrite the names of dishes, drinks or favors.
- Alphabet panels: one large letter on each rectangle, every panel in the same pattern, so you can spell out any name, “CHEERS” or a number.
How to make your own
Any design app will do. Set a letter-size page, 8.5 x 11 inches, draw the shapes and type your wording in one or two fonts.
- For the circles, make each one a little wider than 2 inches so the punch has room to trim. One ready-made template makes each circle a bit bigger than 2 inches for exactly this reason.
- Print on card stock. Regular printer paper makes it harder to get a clean cut with a craft punch. Sticker paper works too, which turns the circles into seals for favor bags.
- If the printed circles come out smaller than your punch, turn off margins in your printer settings so the circles print at the correct size.
- Trim the sheet into strips, one strip per column, so the craft punch can reach each circle. Keep the strips at least a little over 2 inches wide.
- Punch out each circle. A 2-inch circle punch such as the EK Tools Large Circle Punch, 2 inch with Safety Lock works well, and turning it upside down makes the punch more accurate. Scissors work too.
- Cut out the banner pennants, labels and alphabet panels with scissors or a paper trimmer.
Kids can help with the gluing, but an adult should run the hot glue gun and the paper trimmer.
Ways to use it
Cupcake toppers. Put about 1/2 inch of glue on the end of a lollipop stick and press it onto the back of a circle. To make it two-sided, set a second circle face up over the first, with the stick sandwiched between them, and let it dry for a few minutes before you push it into a cupcake. For a colored backing, punch a 2.5-inch circle, smooth or scalloped, and attach it to the back of the topper. Washi tape lets you reposition the circle more easily than glue.
Favor tags and drink markers. Punch a small hole in a circle and tie it to a treat bag with ribbon or twine, or tape it to a paper straw.
The banner. Fold the top edge of each pennant over a length of baker’s twine and tape it closed, then hang the banner along the front of the dessert table or over a doorway.
Food labels. Write each dish’s name on a blank fancy label and fold it into a tent card, or tape it to a toothpick and stand it in the dish. Labels on sticker paper can go straight onto jars and bottles.
Alphabet panels. Clip the panels to twine with mini clothespins to spell the guest of honor’s name, or prop one letter in each frame on a mantel. Print an extra set of numbers so the same panels can show the age at next year’s party.