The Weekend Project: Hand-Rolled Beeswax Candles
As the evenings get darker in November, a set of rolled beeswax candles is a quick project that doesn’t take much cleanup. You don’t melt any wax. You warm a sheet, wrap it around a wick and press the seam shut. Rolled candles take about 20 minutes from start to finish, so a single afternoon can make enough for the table and a few gifts.
What You Need
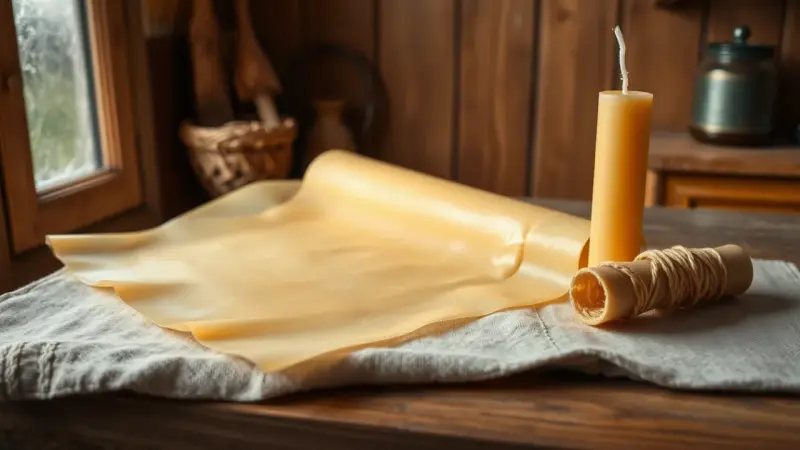
- Beeswax sheets. You can get foundation sheets from beekeeping suppliers. One common size is about 8 1/2″ x 16″ and 65g to 70g. Rolled into a single candle, one sheet burns for at least 8 hours.
- Cotton wick. Square braid wicks are recommended for rolled beeswax candles.
- A ruler and scissors or a sharp knife for cutting the sheets to size.
- A hair dryer or heat gun, used to warm the sheets so they roll more easily.
Picking the Right Wick
The wick size depends on how thick the candle is, not how tall. Candle height has no effect on wick choice. If you roll one sheet across its full 16-inch length, use a #1/0 wick. If you roll it across the full 8 1/2-inch width, use #2/0. Very dark colors may need a wick one size up.
Square braid wick has a right way up. Rub it between your fingers until you find the flattest side, check which way the braided “V” points, and set the wick with the point facing the bottom of the candle. Cut it 1/2″ longer than the candle you plan to make.
Steps
- Cut the sheet. Measure the wax and cut it to the shape and size you want with scissors or a sharp knife.
- Warm it. Lay the sheet on a flat surface and run a hair dryer over it on low for 20 to 30 seconds. The wax should bend without cracking. Don’t let it melt.
- Set the wick. Fold the edge of the sheet carefully over the wick, then press the wick into the wax so it stays put.
- Roll. Roll the sheet tightly and keep the bottom edge straight so the candle stands level.
- Seal the seam. Press the loose edge firmly against the candle. If it won’t stick, warm the seam briefly with the hair dryer and press again.
- Trim. Cut the wick at the top down to 1/4″.
Ways to Adapt It
Two-tone candles: Stack two sheets of different colors and roll them together. Natural yellow with bleached white is a classic pairing.
Shorter or chunkier candles: Cut the sheet into shorter pieces for small tapers. For a thicker candle, roll the sheet the long way and switch to the larger wick listed above.
Decorations: Cut stars, leaves or stripes from scraps and press them onto a finished candle. Honeycomb beeswax is naturally sticky, so you can add trim without glue.
With children: Rolling is safe for young helpers because you never heat or pour hot wax. An adult should handle the knife and the hair dryer.
Burning Them Safely
Homemade candles need the same care as store-bought ones, and this is the time of year when they matter most. The National Fire Protection Association reports that home candle fires peak in December.
- Keep candles at least 1 foot (30 centimeters) from anything that can burn.
- Use sturdy candle holders that won’t tip over easily and put them on an uncluttered surface.
- Blow out every candle before you leave the room or go to sleep.
- Don’t let a candle burn all the way down. Put it out before the flame gets close to the holder.
- Don’t leave children alone in a room where a candle is burning.
FAQ
– Do I need a hair dryer?
No, but it helps. Cold sheets can crack when you roll them, and a short blast of low heat makes them bend easily.
– How long will one sheet burn?
At least 8 hours in total. That’s for an 8 1/2″ x 16″ sheet weighing 65g to 70g, rolled into one candle.
– Why does my candle smoke or burn unevenly?
The wick may be the wrong size for how thick the candle is. Match the wick to the thickness, and try one size larger for dark-colored wax.
Sources
- Rolled Beeswax Sheet Candles — wicksandwax.com
- How to Make Beeswax Candles: Rolled, Dipped & Poured — norcalnectar.com
- NFPA Candle Safety Tips — content.nfpa.org