Father’s Day Printables: Cupcake Toppers and Dad Banner Panels
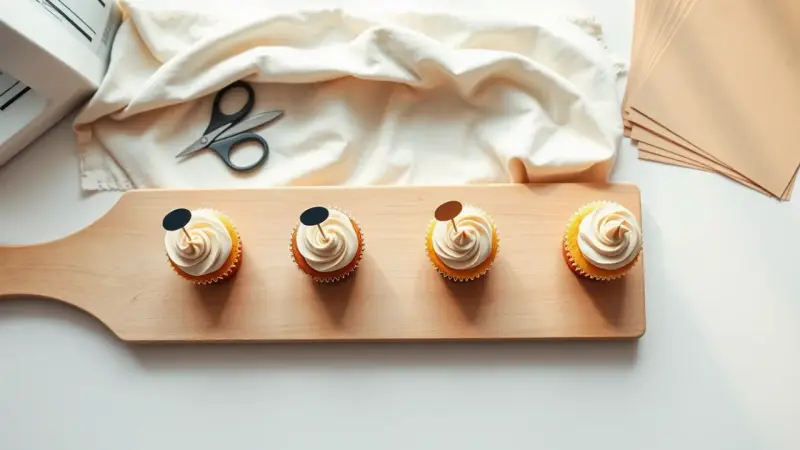
Picture a row of frosted cupcakes, each wearing a small round topper in navy, kraft brown and cream, standing under a string of banner panels that spell out DAD. That is the Father’s Day set: cupcake toppers, banner panels that spell Dad or Daddy, and a matching gift print to frame.
Here is how to design each piece yourself, by hand or in any basic design app, so the whole table looks like one set.
The design
Palette. Choose three or four colors and stay with them. Navy, tan, cream and a pop of red look classic and suit dads of any age. Use a plain or lightly textured background so the lettering stays readable.
Cupcake toppers. Make circles about 2 inches across. That size sits neatly on a standard frosted cupcake without covering all the frosting. Give each circle one short message or icon. Some ideas:
- “Dad” in bold block letters
- “World’s Best Dad” around the edge of the circle
- A mustache, necktie, star or bow tie in a solid shape
- “Happy Father’s Day” in small type with a simple border
Banner panels. Give each letter its own panel. Use D-A-D for Dad, or D-A-D-D-Y for Daddy. Panels around 5 by 7 inches work well, with one large letter centered on each. A pennant triangle or a rectangle with a notched bottom both look good. Keep the same fonts and colors as the toppers so the pieces match.
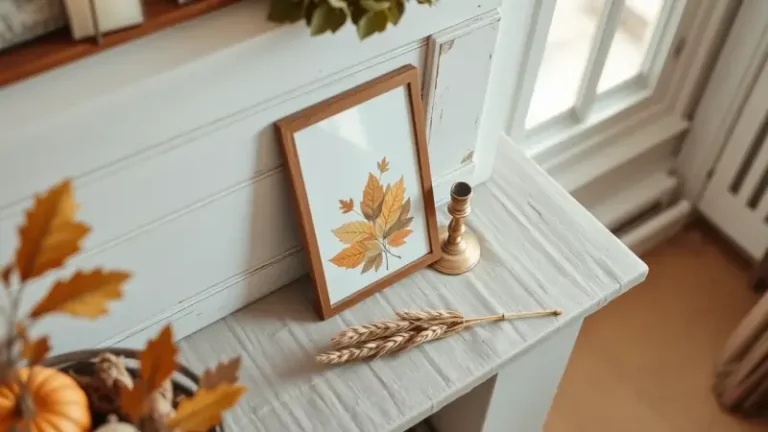
Matching print. Make a gift print to go with the set. Use a short message in the same palette, set in an 8 by 10 inch layout so it fits a standard frame. Put the main words in large type and add a small decorative border.
How to make your own
- Set up the page size in your design app, or sketch the shapes on paper first.
- Fill the page with as many toppers as fit, leaving a little space between circles for cutting.
- Build each banner letter on its own page so you can print only the ones you need.
- Print on white cardstock. Heavier paper keeps toppers upright and stops banner panels from curling.
- Cut out the toppers with scissors or a circle punch. For a clean edge, use a cutting machine such as a Cricut if you have one.
- Punch two holes near the top corners of each banner panel, or fold a small strip at the top to make a sleeve.
Ways to use them
Toppers. Glue or tape each circle to a wooden pick or a paper straw, or use a lollipop stick. Let the frosting set before you add the toppers so they stay upright. Place them just before serving so the paper doesn’t touch wet frosting for long. The same circles also work as gift tags, drink flags or labels for a sandwich platter.
Banner. Thread twine or ribbon through the holes in order, leaving a tail of a foot or so on each end for hanging. Put it over a doorway, along a mantel or on the wall behind the dessert table. Space the panels evenly, with a small gap between letters so the word reads clearly.
Print. Slip the print into a frame and give it with a card, or set it on the table as part of the display. A framed print is also something Dad can keep on a desk or shelf long after the party.
Easy celebration. A breakfast table can carry the whole theme with pancakes, coffee and a plate of topped cupcakes. For a backyard cookout, hang the banner on the fence and set the cupcakes near the grill. Either way, the set makes a simple celebration feel planned without much work.
If kids help, let them color or decorate the plain toppers themselves. Adults should handle craft knives and any hole punch with a sharp edge.