Geometric Spring Prints: A Set of Four, Including Live Life in Full Bloom
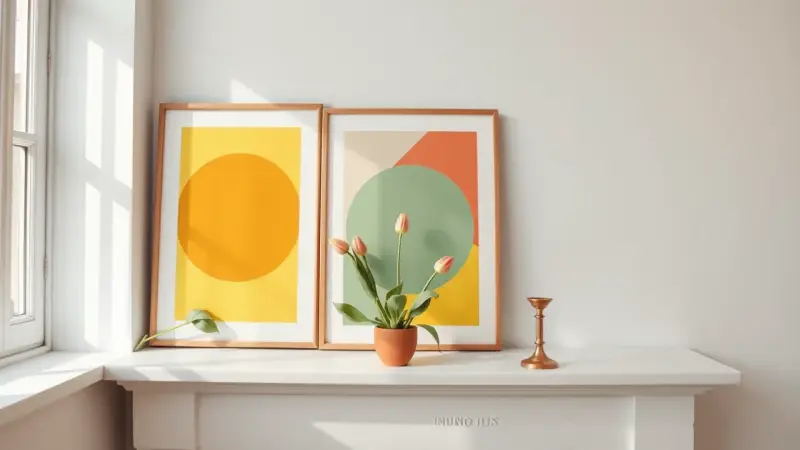
A bright geometric spring print on a mantel is a cheerful way to mark the change of season. This set has four 8 x 10 prints. One of them reads “Live Life in Full Bloom,” and it works well as the centerpiece of the group. The other three carry the phrases “You Make All Things New,” “You Are My Sunshine” and “Here Comes the Sun.”
Each print is a short phrase set against bold shapes in sunny colors. You can make the whole set yourself in any design app, or draw it by hand with a ruler and markers.
Why spring suits this kind of wall art
Spring is a season of fresh starts, blooming trees and longer, brighter days. Wall art is an easy way to bring that feeling indoors. A set of four prints costs very little and can be swapped out when the season changes. The phrases are simple and hopeful, so they suit a kitchen, an entryway, a nursery or a sunny corner of a bedroom.
The design of each print
Keep the four prints consistent so they look like a set. Use the same margins, the same type style and one shared color palette. Good spring colors are:
- Sunshine yellow
- Coral or soft peach
- Aqua or mint
- Blush pink
- A warm gray for the lettering
Here are layout ideas for each phrase:
- Live Life in Full Bloom: Build a flower from overlapping triangles or diamonds, with the petals fanning out from a center point. Place the words in a clean block underneath, in a mix of upper and lower case.
- You Are My Sunshine: Draw a circle in yellow with straight, triangular rays around it. Center the words below or across the middle.
- Here Comes the Sun: Use a half circle rising from the bottom edge, made of concentric bands of yellow, peach and coral. Set the phrase above it.
- You Make All Things New: Fill the background with a grid of small squares and triangles in several colors. Leave a plain white panel in the middle for the lettering.
Making your own
- Set the page size to 8 x 10 inches, in portrait orientation.
- Leave at least half an inch of white around the edge so a frame or mat will not cover any of the artwork.
- Build the shapes first. Use the triangle, square and circle tools, and keep to your small palette.
- Add the words last, using one bold font for the main phrase. Check that the lettering stands out clearly against the shapes.
- If you are working by hand, mark the shapes lightly in pencil with a ruler, then fill them in with markers or watercolor. Let each color dry before adding the next.
Printing and display
High-quality white card stock gives the best result, because it holds color well and stays flat in a frame. A local copy center is often the most economical choice if you do not have a color laser printer. Ask for a matte finish, which avoids glare behind glass.
When you hang the set, a few ideas work well:
- Arrange the four frames in a row or a two-by-two grid, with about two inches between them.
- Use matching frames in white, natural wood or gold, so the colors of the prints stand out.
- Lean the prints on a shelf or mantel in place of hanging them, and overlap them slightly.
- Pair one print with a vase of fresh flowers or a bowl of lemons for a seasonal vignette.
Since the set is meant for your own home, keep it for personal use. If you give a print as a gift, make it by hand and frame it for the recipient.