Get to the Point Print: A Watercolor Cactus Wall Art Idea
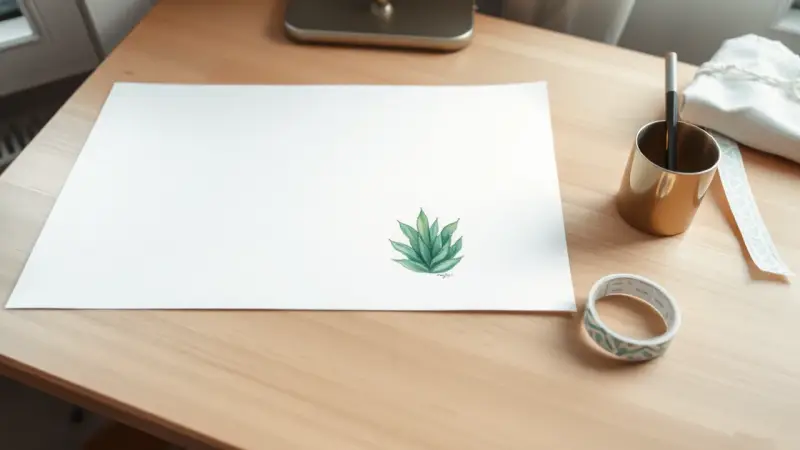
The Get to the Point print pairs one hand-painted watercolor cactus in fresh greens with the punny phrase “Get to the Point” on a clean white background. It was first painted as an evening watercolor session to blow off steam. It suits a craft room, a home office or a dorm wall. It looks good in a frame or simply taped up with washi tape.
What does the design look like?
The layout is simple. A single cactus sits in the center or lower half of the page, and the phrase goes above or below it in a casual hand-lettered or script style. Plenty of white space keeps the look fresh. Dark green or charcoal lettering works well against the soft greens of the plant.
A cactus is a forgiving subject for a beginner. You don’t need a realistic copy to end up with a painting that works. The basic shapes are just long ovals stacked on each other, and they look more natural when they aren’t too neat or symmetrical.
How do you paint the cactus yourself?
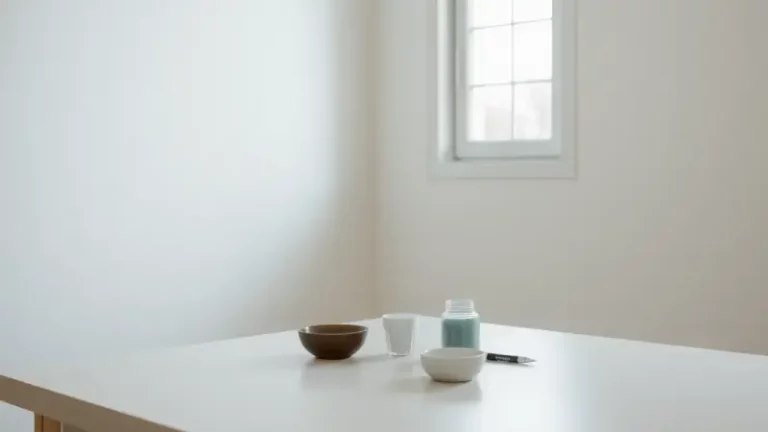
Supplies:
- Watercolor paper
- Pencil
- A mid-green and a darker green watercolor (you can mix dark blue or black into green to get the darker shade)
- A large brush and a small brush
- Kitchen towel
- Optional: a white paint pen or white gouache for highlights
- Lightly sketch the cactus in pencil. Start with one large oval, then add smaller ovals on top for the arms, getting smaller as you go up.
- Pick one side to face the light. That side will hold the highlights.
- Fill the first big shape with a light wash of green. Leave a few patches of white paper for depth and sunlight.
- While the paint is still wet, drop a darker green into one side to make a shadow.
- Use more water to coax the paint where you want it. To stop it running, dab the area dry with kitchen towel.
- Let everything dry completely. Then use the small brush and dark green to paint the spines. Angle them diagonally, vary their direction and add a few along the top edge.
- To finish, paint a brown pot by brushing a flat oval rim around the base and adding the sides below it.
Watercolor dries lighter than it looks when wet, so make the first layer a little bolder than you think you need. Painting too much on wet layers or mixing too many pigments at once can turn the colors muddy.
How do you turn the painting into a print?
Scan or photograph the finished cactus in even daylight. Bring the image into any design app and place it on a white page. Type “Get to the Point” in a hand-lettered or script font, then adjust the size and spacing until the words and plant feel balanced. You can also skip the computer and letter the phrase straight onto the original painting with a fine brush or pen.
Print on quality card stock rather than plain copy paper so the piece holds up over time. Let the ink dry before you trim the margins with a paper trimmer or a craft knife on a cutting mat.
How can you display it?
A frame gives it a finished look. For a quick, renter-friendly option, tape the corners to the wall with washi tape in a pattern or color that matches the greens. The same cactus also works on a matching card or a tag for a teacher or friend. Just keep the phrase and the plant and shrink the layout to fit.
If you’d like a set, paint two more cacti in different shapes, like a tall one with a rounded top or a bunny-ears style. Then hang the three prints in a row with the same tape.