Take a Bite Halloween Tote: A Trick-or-Treat Bag with Bite Marks
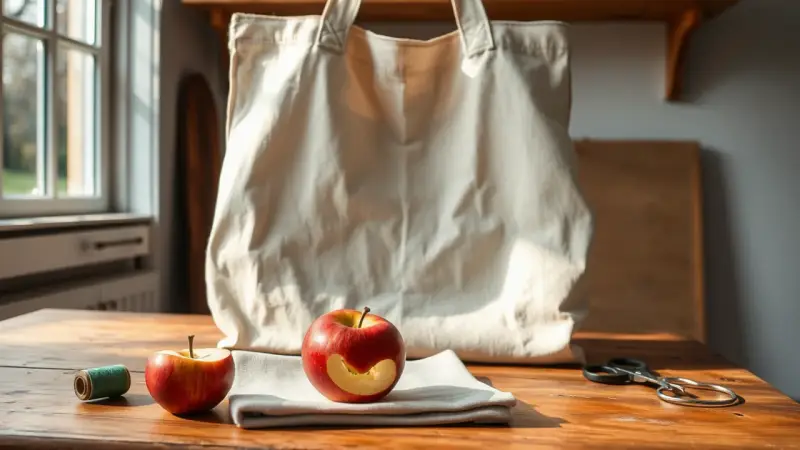
A plain canvas tote becomes a Halloween treat bag when a big, bitten-into goodie is the star of the front. The bite taken out of the edge is the joke. It suits a Disney-inspired Halloween, where poison apples, Mickey shapes and spooky-sweet colors are popular. It also works for trick-or-treating, a classroom party or a bag of library books.
This version uses a bitten apple in classic poison-apple colors. The same method works for a cookie, a donut or a cupcake.
Supplies
- A plain canvas tote in a light or dark solid color, washed and ironed flat
- Felt or cotton fabric scraps in red, green and brown (for apple, leaf and stem)
- Fusible web, if you want an iron-on applique, or fabric glue
- Fabric paint or a fabric marker for details
- Black or white thread, or paint, for stitching lines
- Scissors, a pencil, parchment or scrap cardboard, and a pressing cloth
How to make it
- Prepare the bag. Wash it without fabric softener if it is new, then iron it smooth. Slide cardboard or parchment inside so paint cannot bleed through to the back.
- Draw the shape. Sketch a simple apple on paper, then cut a bite out of one side in a scalloped curve. Two or three rounded tooth marks read best.
- Cut the pieces. Trace the apple onto fabric with fusible web attached, and cut it out. Cut a small leaf and a stem. For the bitten look, cut a pale cream shape just behind the bite so the “flesh” shows.
- Position and fuse. Lay the pieces on the tote, with the cream shape under the bite edge. Follow the web’s directions for iron heat, using a pressing cloth. If you use glue instead, let it dry fully.
- Add details. Use fabric paint or a marker for a highlight on the apple, seeds in the bite and a few tiny stitch lines around the edges. Add a spooky word if you like, such as “Take a Bite.”
- Let it cure. Leave the paint to dry flat. Check the paint label for heat-setting directions before washing the bag.
Variations and tips
Change the treat. A cookie with a bite gives a good place for chocolate chips. A donut with a bite and sprinkles looks fun on a light bag. A Mickey-shaped treat, such as a cookie or cracker, gives a Disney Halloween feel. Make it your own with simple round ears.
Choose colors for the bag. Black, orange and deep purple totes make red and green pop. A white bag makes a softer, more kid-friendly look.
Keep edges tidy. Felt does not fray, so it is the easiest choice for beginners. Cotton may need a stitched or painted edge. Trim any loose threads before fusing.
Make it sturdy. Candy bags carry weight. Press the applique firmly and add a few hand stitches at the corners. Avoid placing it where the handle strap folds.
Use a cutting machine. If you own one, such as a Cricut, cut the felt or iron-on vinyl shapes with it for exact repeats. Doing several bags for a party is much faster that way.
Kid involvement. Children can peel, place and paint details. An adult should handle the iron and sharp scissors. Keep small pieces such as buttons away from children under three.
FAQ
Can I make the tote without sewing?
Yes. Fusible web or fabric glue holds felt pieces well, and fabric paint covers the details. Sewn corners just add extra strength.
How do I wash a painted tote?
Wait until the paint has fully cured, turn the bag inside out, and wash it gently in cold water. Air dry it so the design stays smooth.