A Little Love for a New Teacher: Fabric-Spine Composition Notebook and Teacher Gift Set
The Finished Notebook and Who It Suits
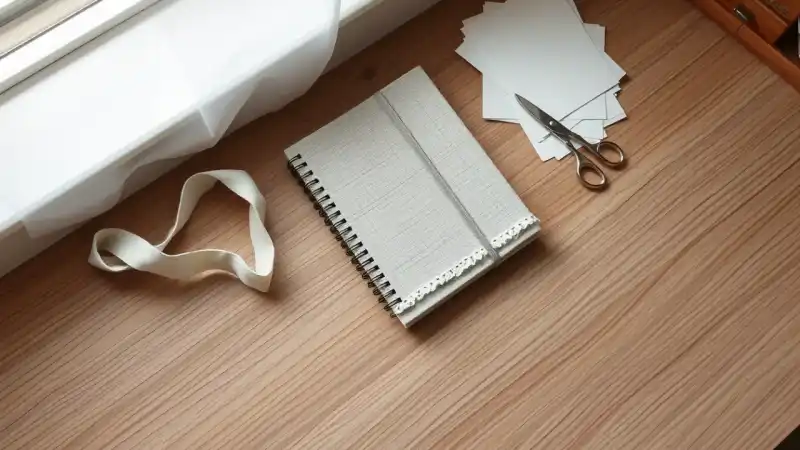
This plain black-and-white composition notebook gets new clothes. The front and back covers are covered in two patterned scrapbook papers that go together. A strip of fabric is wrapped over the spine and laps onto the paper, and a line of ruffle trim is glued along the edge. It makes a good handmade gift for someone heading back to school to earn a teaching degree, or for a teacher who fills notebooks with lesson ideas and meeting notes.
The notebook pairs well with two other pieces for a full teacher set. One is a clipboard decorated to match, which can hold half-sheet class lists and a sheet of stickers for grading so they stay together. The other is a canvas tote with the teacher’s name or initials on it. The letters can be fabric cut on a cutting machine such as a Silhouette, and the design can be stenciled on with acrylic paint.
How to Make the Decorated Notebook
Supplies:
- 1 composition notebook
- 2 sheets of patterned scrapbook paper (one pattern for each cover, or the same pattern twice)
- A strong glue stick
- Coordinating cotton fabric
- Ruffle trim
- Scissors
- A hot glue gun
- A heavy book for pressing
An extra-strength stick works well for the paper. Elmer’s X-Treme School Glue Stick is formulated for paper, photos, wood, craft sticks, fabric, ribbon and other craft materials. It goes on smooth and dries clear, and it is acid free, nontoxic, photo safe and washable.
- Lay a sheet of scrapbook paper face down. Set the notebook’s front cover on it and trace around it. Do the same on the second sheet for the back cover, then cut out both pieces.
- Spread a thick, even layer of glue over the back of one paper piece. Press it onto the cover right away, before the glue starts to set. Work the corners down firmly. Repeat on the back cover.
- Put the notebook under a heavy book while the paper dries, so the covers stay flat.
- Once it’s dry, trace the notebook’s spine area onto the fabric. Cut a strip with extra length at the top and bottom, wide enough to overlap the paper by at least 1/2 inch on each cover.
- Attach the fabric over the spine with hot glue. The spine bends every time the notebook opens, so a glue stick alone won’t hold it there.
- Hot-glue the ruffle trim along the edge where the fabric meets the paper, on the front cover or on both covers.
The clipboard and tote can use the same papers, fabric and trim, so the three pieces look like a set. For the clipboard, glue paper onto the board below the clip and add the trim along the bottom edge. For the tote, put a sheet of cardboard inside the bag before stenciling so the paint doesn’t soak through to the back.
Mistakes to Avoid
- A thin layer of glue. Paper corners start to lift on a notebook that gets carried around a lot. Use a heavy coat and press the corners well.
- Not pressing the covers. Paper can bubble or curl as the glue dries, so keep the notebook under weight until it’s fully dry.
- A fabric strip that’s too narrow. If the fabric doesn’t overlap the paper by at least 1/2 inch, the raw paper edges show along the spine.
- Using a glue stick on the spine. Use hot glue for both the spine fabric and the ruffle.
- Kids handling the glue gun. If children help make the gift, an adult should do the hot glue and scissor work. Keep loose trim and small parts away from children under three.
Leave extra time before the gift needs to go out. The paper covers need to dry under weight before the fabric and trim go on.