Cupcake Party Printables: Banner, Drink Wraps, Labels and Thank You Tags
A cupcake party printable set is a bundle of paper pieces that all match: a bunting banner with a panel for each letter, a blank invitation, wraps for drink bottles, fancy labels, big round party circles and little thank you tags. Put them together and a plain table of cupcakes looks planned from the first invitation to the last goodbye.
The set also includes ready-made panels spelling “Happy Birthday” and “Cupcake,” plus letter and number panels so you can spell any name, age or message. Here is how to design each piece yourself and use it.
The design: what each piece looks like
Pick a palette of two or three colors, such as pink, aqua and cream, and repeat a simple cupcake motif and one polka dot or stripe pattern across every piece. Matching is what makes the set feel cohesive.
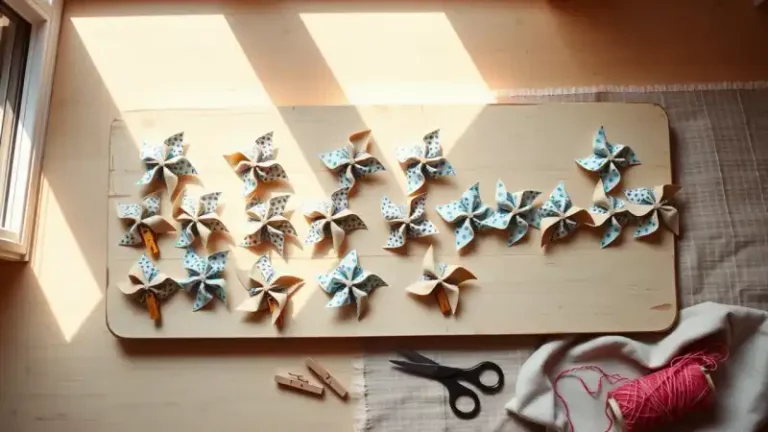
- Banner panels: pennant or rectangle shapes, one letter or number each, with a hole or fold at the top for string. Make extras of vowels and the letters in your message.
- Invitation: a blank card layout with a decorative border and open space for the date, time, place and RSVP.
- Drink wraps: long narrow strips that wrap around a bottle or cup and close with tape. Keep the artwork simple so it reads from across the room.
- Fancy labels: blank frames in oval or scalloped shapes where you write what each treat is, from lemon cupcakes to punch.
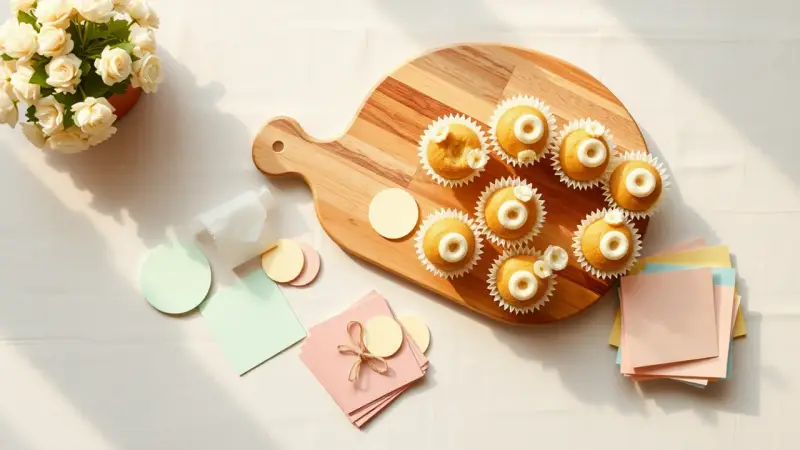
- Party circles: large rounds, around 3 to 4 inches across, for cupcake toppers, table scatter or a garland.
- Thank you tags: small rectangles or hearts with a short thank-you line and room to sign.
How to make your own
- Open any design app or word processor and set the page to US Letter, 8.5 by 11 inches.
- Build one panel, then copy it for each letter, changing only the character. Use a thick, rounded font.
- Fit several pieces on each page to save paper: about four banner panels, or a grid of small tags.
- Print on white cardstock for banners and circles. Lighter paper works for invitations and drink wraps if you want them to bend easily.
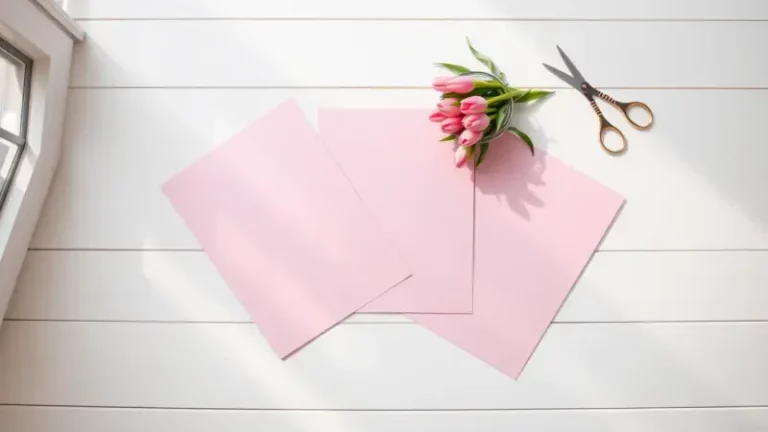
- Cut with scissors, a paper trimmer or a punch. Keep cut lines slightly outside any border so there are no white slivers.
Test one page first. Printer colors often run darker than on screen, so adjust before you print the full set.
Ways to use the set
String the banner panels on twine or ribbon across a dessert table or wall. Tape or glue the circles to toothpicks for cupcake toppers, or stack two together with a skewer between them so they show on both sides. Slip drink wraps around bottles and use the labels for food cards.
Write the invitation details by hand, which keeps each one personal. Then hand out the thank you tags at the end tied to a cupcake box or a bag of treats.
The tags are not just for birthdays. Write a short Valentine message on them and they work as class cards too.
Keep the designs for personal use at your own party. If you share your pattern with friends, a few hand-cut copies are a lovely gift, but selling them would be unfair to the designers.
FAQ
What size should banner letters be?
Panels about 5 inches wide and 6 to 7 inches tall are easy to read across a room and fit four to a sheet when you place them carefully.
What paper holds up best?
Cardstock keeps banners from curling and holds toppers upright, while regular paper is fine for wraps and tags. Use the thicker paper wherever a piece hangs or stands.